
Moisture management is the hidden structure behind a beautiful bathroom. For bathroom remodeling in Portland OR, the wet climate makes ventilation, waterproofing and drying potential especially important. Tile and stone may look waterproof, but the complete assembly behind the finished surface determines whether the room performs for decades.
Nick and Sons coordinates Portland kitchen and bathroom remodeling from design through construction. That integrated approach helps align shower details, exhaust routing, plumbing, electrical work and finish selections. Use this checklist to evaluate the systems that homeowners cannot easily see after the remodel is complete.

Featured image — Bathroom remodeling in Portland OR with tiled shower and controlled drainage. Image source: Nick and Sons Design Build
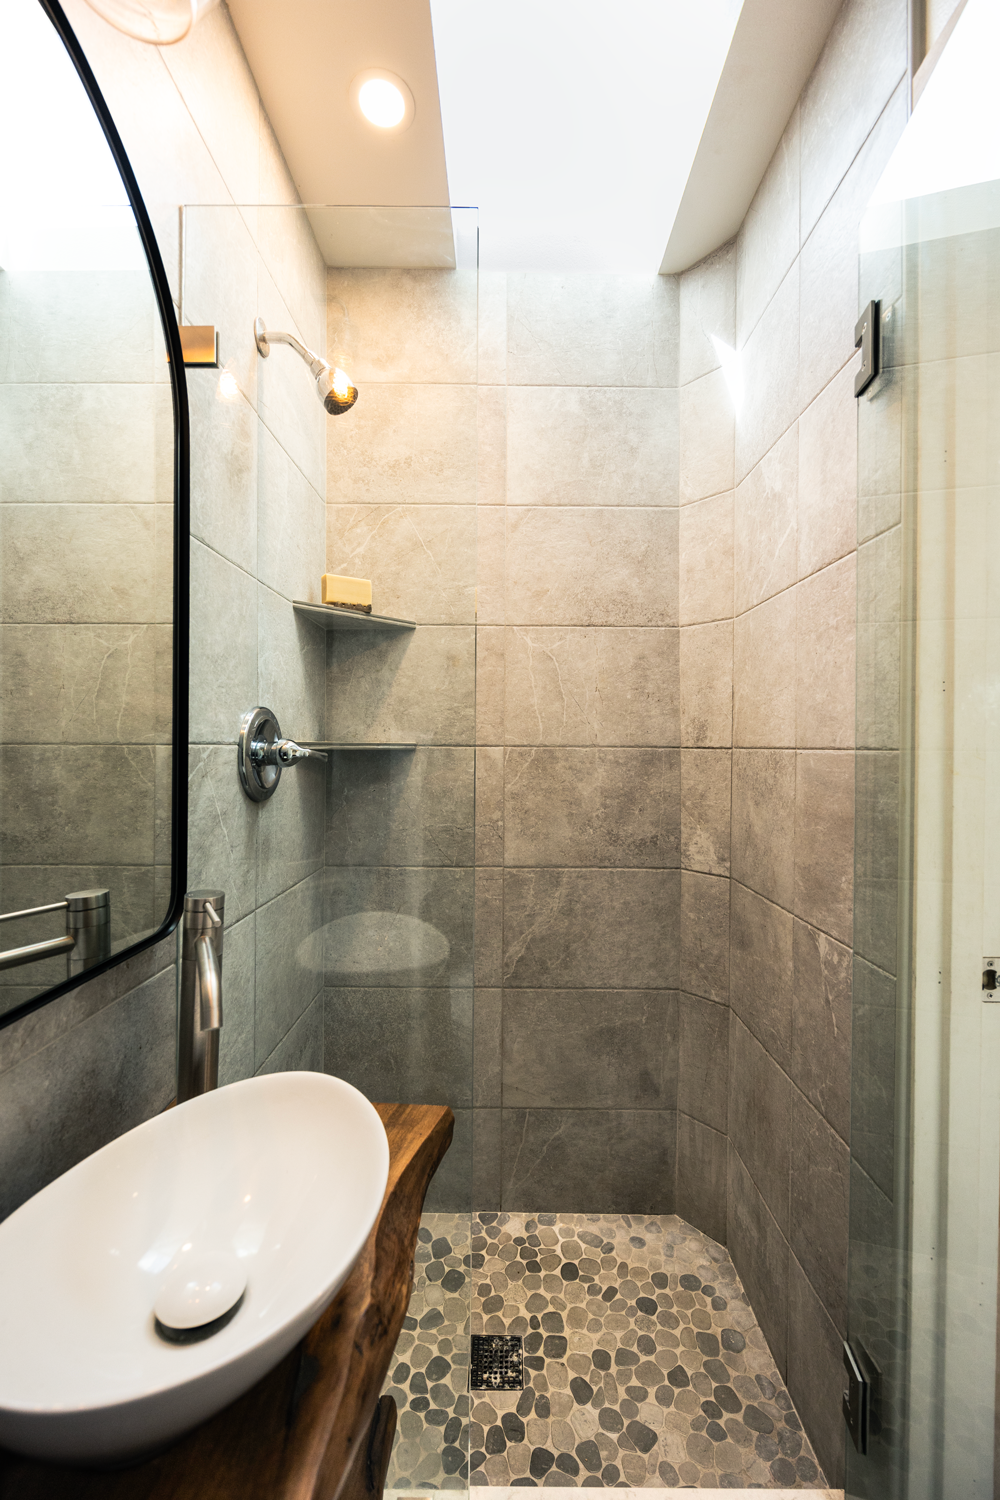
Start by Identifying Every Moisture Source
Showers and tubs create obvious water exposure, but bathrooms also collect humidity from hot water, damp towels, plumbing condensation and wet floors. Exterior walls and ceilings may have colder surfaces where moisture can condense. Understanding the room’s existing problems helps the design address causes rather than cover symptoms.
Look for peeling paint, stained caulk, soft trim, recurring mildew and slow-drying surfaces. These signs do not automatically reveal the source, so demolition and inspection may be needed before the final repair scope is confirmed.
Vent the Room to the Exterior
An exhaust fan should move humid air out of the building, not into an attic, crawlspace or wall cavity. The fan, duct length, duct diameter and termination location work as a system. A powerful fan connected to a restrictive route may perform poorly and create more noise.
Controls matter too. Timers, humidity-sensing controls or continuous low-speed ventilation can help the fan run long enough after bathing. Quiet equipment is more likely to be used consistently. The design should also provide a path for replacement air to enter the room.
Treat the Shower as a Complete Waterproof Assembly
Grout and tile are finish materials, not the only waterproofing layer. A shower requires a continuous, compatible system at the floor, walls, corners, curb, niches, valves and penetrations. Transitions are common failure points because several materials and trades meet there.
Select one tested waterproofing approach and follow its installation requirements. Mixing unrelated membranes, drains and sealants can create gaps in responsibility. Before tile covers the work, inspections or flood testing may be appropriate depending on the system and permit requirements.
Build Drainage Into Every Horizontal Surface
Shower floors, curbs, benches and niches must direct water toward the drain rather than hold it. Small slope errors can create standing water and staining even when the waterproofing remains intact. Large-format tile may require special layout decisions to follow the shower floor slope.
Outside the shower, floor transitions should minimize places where water can collect. A curbless design can improve accessibility, but it requires careful elevation planning so water remains within the wet zone.

Portland bathroom remodel with durable vanity storage and glass shower enclosure. Image source: Nick and Sons Design Build
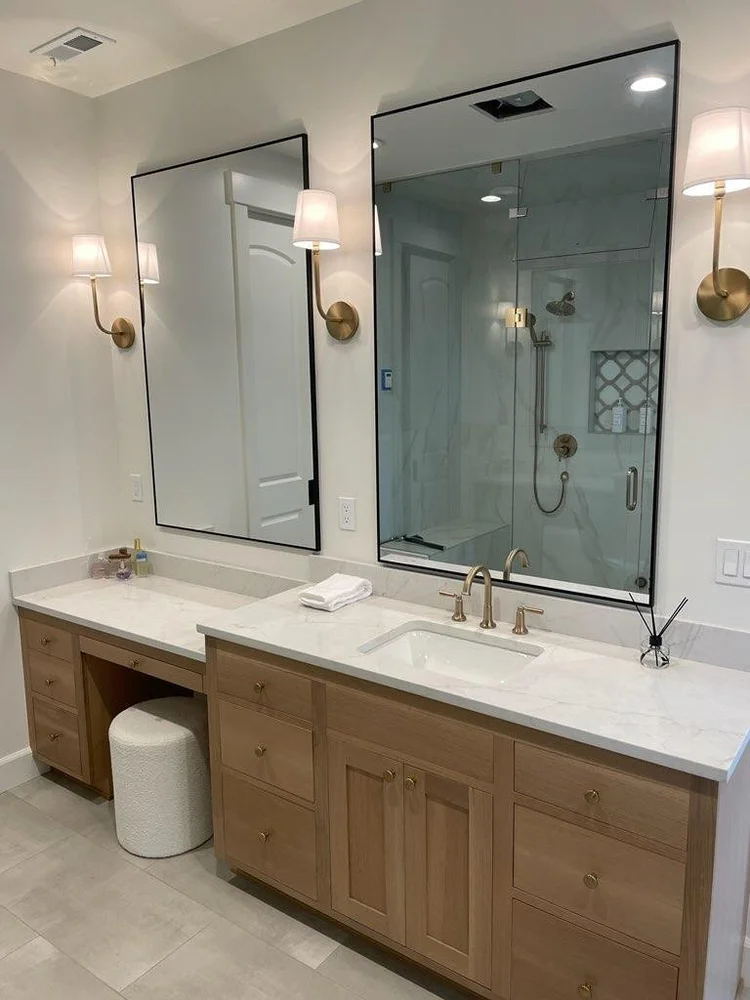
Choose Materials for Drying and Maintenance
Materials should match the level of exposure. Painted drywall may perform well outside wet zones when ventilation is effective, while shower assemblies require dedicated backer and waterproofing systems. Wood cabinetry should be protected from repeated splash and designed with enough clearance for cleaning.
Consider how finishes age. Highly textured tile and complex grout patterns can be harder to maintain. A durable bathroom is not necessarily plain; it simply uses detail and texture where they can be cleaned and dried effectively.
Coordinate Insulation and Exterior Walls
Bathrooms on exterior walls need careful coordination between plumbing, insulation and air sealing. Supply lines placed in vulnerable cold locations can be difficult to protect. Recessed niches and medicine cabinets may reduce insulation thickness if they are not planned early.
The design should preserve a continuous thermal and air-control layer where possible. This reduces cold surfaces and condensation risk while improving comfort. Mechanical and plumbing layouts should be reviewed before framing is finalized.
Plan Lighting and Electrical for Wet Locations
Bathroom lighting affects safety, grooming and atmosphere. Fixtures near tubs and showers must be appropriate for their location, and outlets require required protection. Mirrors, sconces, heated floors and bidet seats can add electrical loads that should be coordinated with the panel and circuit plan.
Lighting can also support drying and cleaning by making moisture and residue easier to see. Layer ambient, task and low-level night lighting instead of relying on one bright ceiling fixture.
Document What Will Be Hidden
A quality remodel includes photographs and records of waterproofing, plumbing, electrical and blocking before walls close. Documentation helps with future repairs and gives homeowners confidence that critical details were completed.
The Nick and Sons design-build team manages design, permitting and construction as one process, reducing the chance that a shower detail is interpreted differently by separate parties. Clear scopes and product specifications are essential for accountability.
Create a Maintenance Plan From Day One
Even the best bathroom needs routine care. Run ventilation during and after bathing, repair failed caulk, keep drains clear and address plumbing leaks promptly. Avoid sealing moisture into assemblies with unapproved coatings or repeated cosmetic patches.
A simple maintenance guide should identify fan cleaning, grout or sealant inspection and manufacturer recommendations. Long-term performance depends on both correct construction and consistent drying.
Inspect the Existing Bathroom Before Finalizing Scope
Existing conditions can change the best remodeling strategy. Before final selections are locked, evaluate the subfloor, wall framing, plumbing locations, exterior walls and any evidence of prior leaks. A bathroom that appears sound may contain an outdated shower assembly or repairs that were never properly integrated. Selective investigation can help determine whether the project needs localized work or a complete rebuild of the wet area.
The inspection should also consider floor flatness and structural stiffness, particularly when large-format tile or a curbless shower is planned. Tile assemblies have specific substrate requirements. Correcting framing and subfloor conditions before waterproofing protects the finish investment and creates a better surface for drainage. These improvements should be part of the written scope rather than treated as an installer’s informal judgment.
Homeowners should receive a clear change protocol for concealed conditions. The contractor should document what was found, explain why it matters, present the proposed correction and obtain approval before proceeding. That process keeps legitimate moisture repairs from becoming confusing or open-ended and helps the final bathroom perform as one complete assembly.
Questions to Resolve Before Tile Installation Begins
Before tile is ordered, confirm which surfaces receive tile, where the pattern begins, how corners terminate and which edges need trim. Large-format tile may require flatter substrates and a different layout strategy than small mosaic tile. Niches, benches, curbs and window returns should be dimensioned around the selected material whenever possible so narrow cuts do not undermine an otherwise polished design.
Waterproofing details should be reviewed with the fixture and glass plans. The location of the valve, handheld shower, grab-bar blocking and door swing all affect penetrations and transitions. Ask who is responsible for the waterproofing system, how it will be inspected or tested, and how work by later trades will be prevented from damaging it.
Finally, approve grout color, joint width and movement-joint locations before installation. These details influence both appearance and maintenance. A coordinated pre-tile meeting gives the bathroom remodeling team one shared reference and reduces decisions made under pressure after materials are already on site.
Project Planning Checklist
- Confirm the exhaust fan terminates outdoors.
- Size the fan and duct route as one system.
- Specify a complete compatible shower waterproofing assembly.
- Slope shower floors, curbs, benches and niches to drain.
- Plan curbless elevations before framing and plumbing.
- Use materials appropriate for each moisture exposure zone.
- Protect insulation and air sealing at exterior walls.
- Coordinate wet-location lighting and electrical protection.
- Photograph hidden work before walls and tile close it in.
- Provide clear fan use and maintenance instructions.
Frequently Asked Questions
Is tile waterproof?
Tile is water-resistant, but the shower relies on a continuous waterproofing and drainage system behind or beneath the tile.
How long should a bathroom fan run after a shower?
The correct duration depends on room size, fan performance and humidity. A timer or humidity control can help the fan continue until excess moisture is removed.
Can a bathroom fan vent into the attic?
It should terminate outdoors. Venting humid air into an attic or other concealed space can create moisture problems.
Do Portland bathroom remodels require permits?
Permit requirements depend on the scope. New bathrooms and many plumbing, electrical, mechanical or structural changes require permits. Check current Portland guidance for the project.
What should I ask a bathroom remodeling contractor?
Ask which waterproofing system will be used, how it will be tested, where the fan terminates, what permits apply and how hidden work will be documented.
Plan the Project With One Coordinated Team
A durable bathroom is designed from the inside out. Successful bathroom remodeling in Portland OR combines ventilation, waterproofing, drainage and maintainable finishes instead of relying on surface appearance alone. Request a bathroom consultation to plan a room that looks refined and manages moisture correctly.
External Sources
- EPA: A Brief Guide to Mold, Moisture and Your Home
- ENERGY STAR: Ventilating Fans
- Portland Permitting: Residential Bathrooms
Image Credits
- Bathroom remodeling in Portland OR with tiled shower and controlled drainage — Nick and Sons Design Build website
- Portland bathroom remodel with durable vanity storage and glass shower enclosure — Nick and Sons Design Build website